Impulse Responses and Cabinets: Understanding Microphones and Their Impact on Tone
Jan 21, 2025
When it comes to guitar tone, impulse responses (IRs) and cabinet simulations are incredible tools. They allow us to recreate the sound of a mic’d-up cabinet in a studio or live setting without the need for physical amps, cabs, or microphones. However, the choice of microphones and their placement in these scenarios still plays a critical role in shaping your sound.
Let’s dive into three common microphone types—dynamic, condenser, and ribbon mics—and how mic placement and blending can influence your tone.
Dynamic Mics: The Workhorse of Guitar Tone
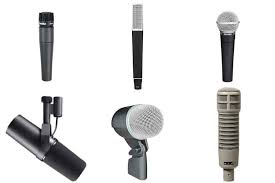
The most well-known dynamic mic for guitar cabinets is the Shure SM57, a staple in studios and on stages worldwide. Dynamic mics are:
• Durable and great at handling high sound pressure levels (SPL).
• Known for their focused, punchy midrange response, which is perfect for guitars cutting through a mix.
Mic Placement Tips for a Dynamic Mic
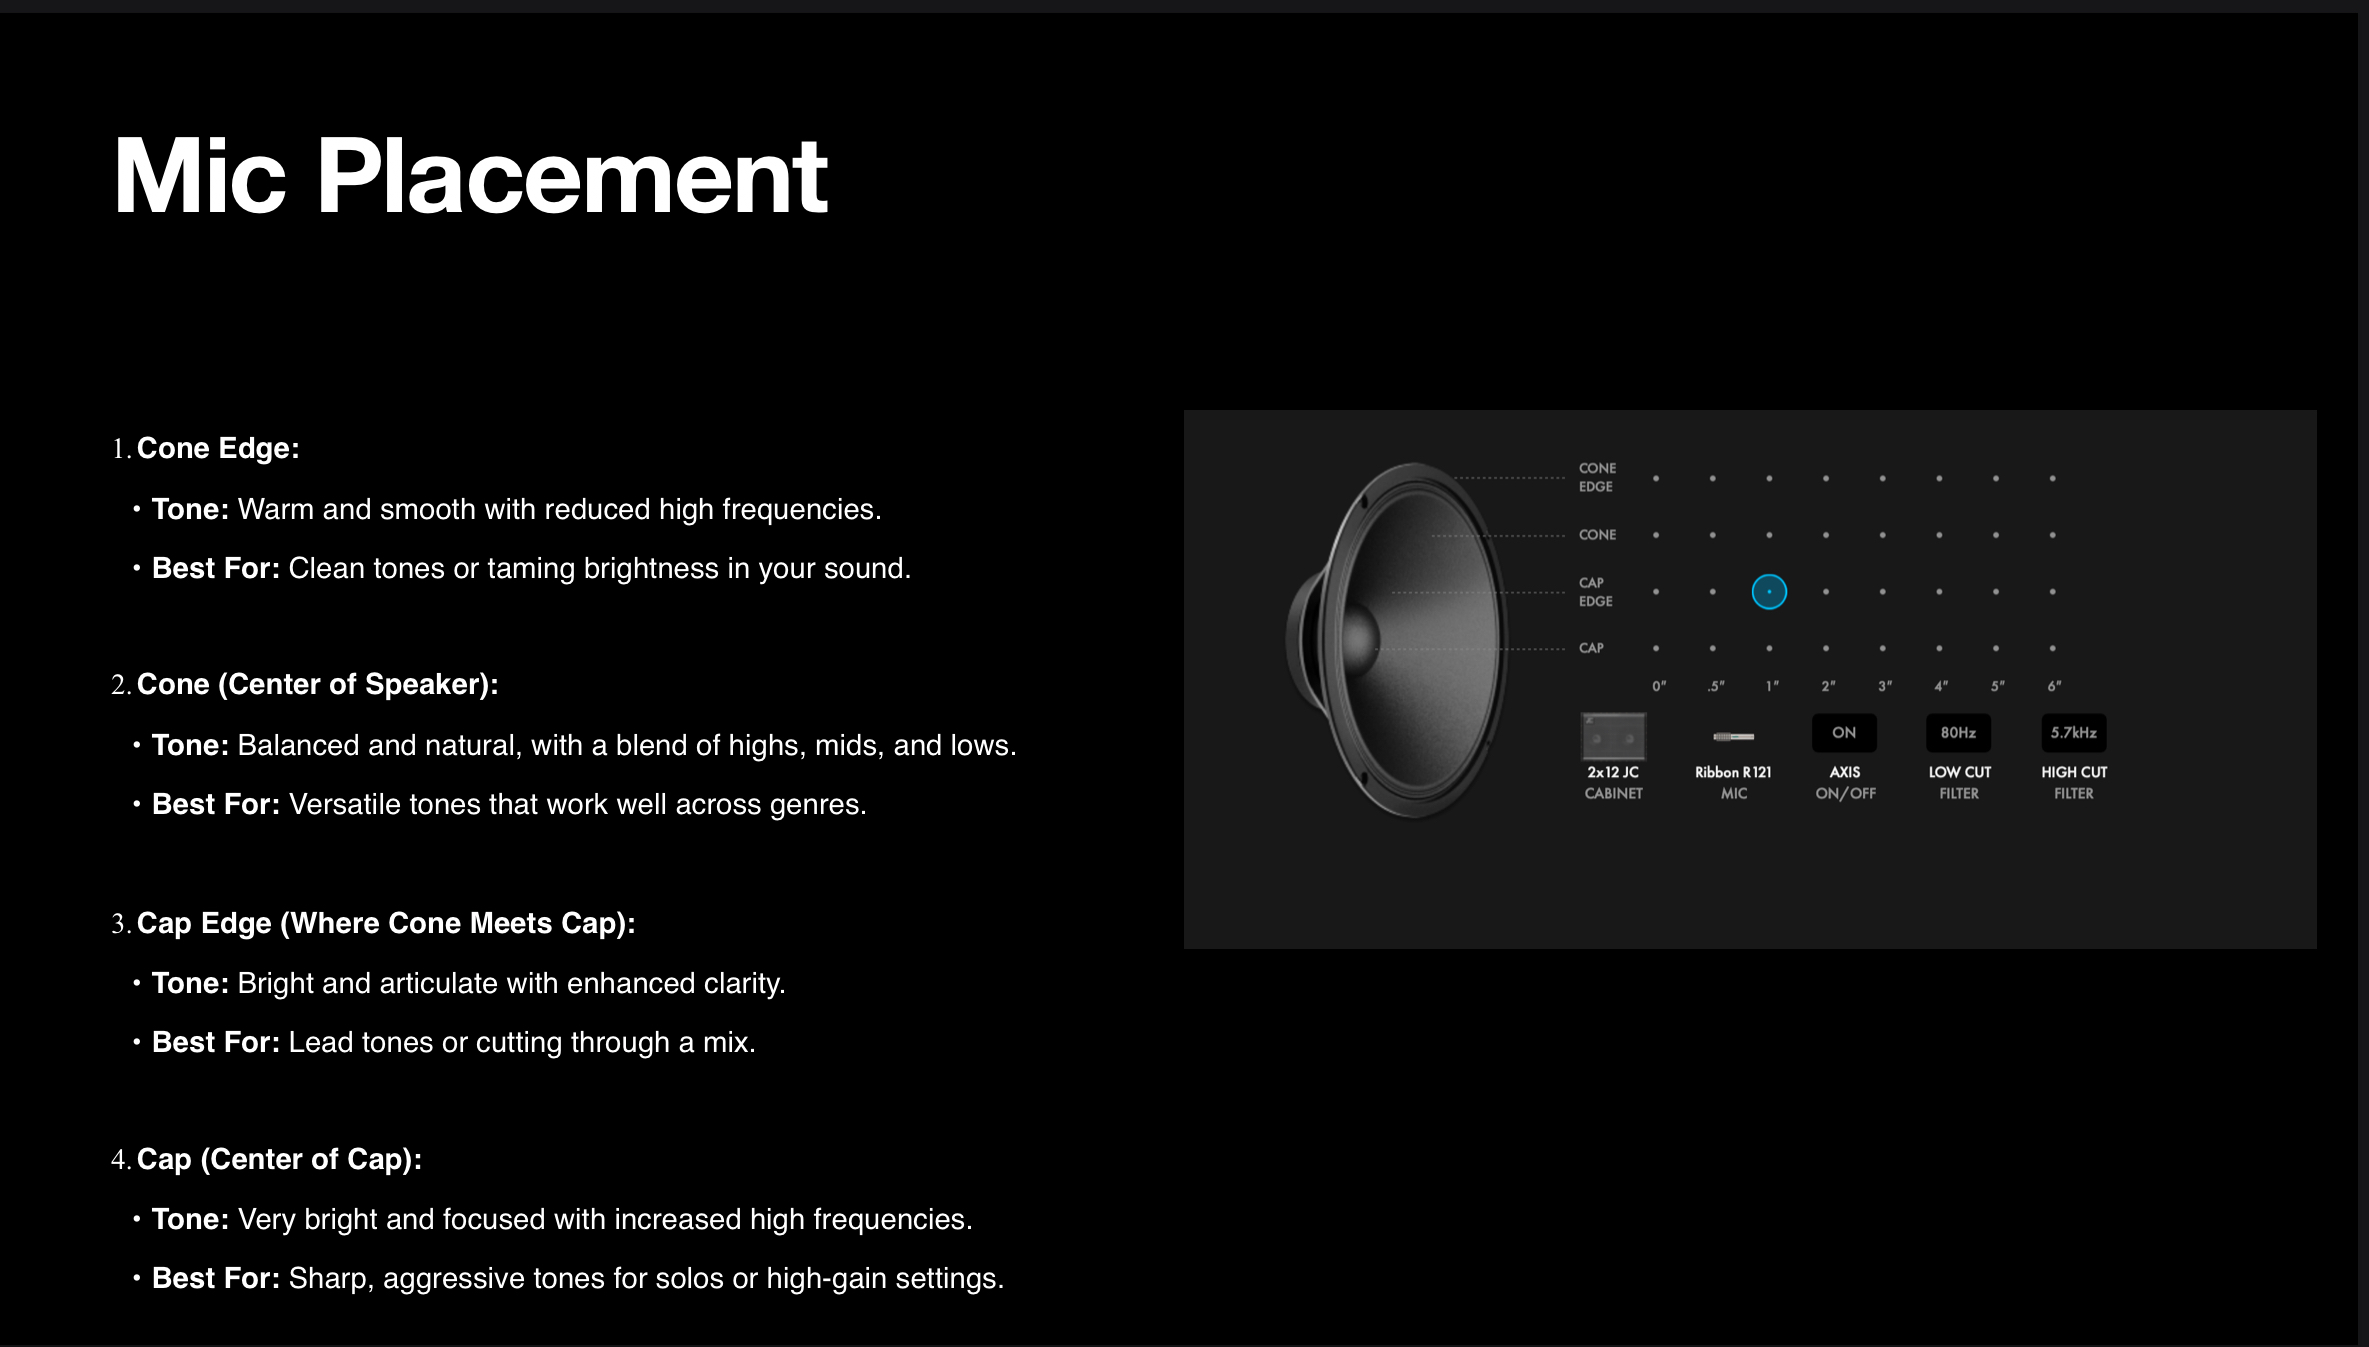
1. On-Axis: Position the mic directly facing the center of the speaker cone. This produces a brighter, more aggressive tone with lots of high-end clarity.
2. Off-Axis: Angle the mic slightly away from the speaker cone to reduce harshness and create a smoother tone.
3. Edge of the Cone: Placing the mic closer to the edge of the speaker cone emphasizes warmth and low-end while reducing high frequencies.
Condenser Mics: Adding Detail and Dimension
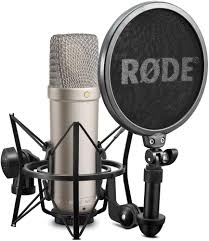
Condenser microphones are prized for their sensitivity and wide frequency response, making them adept at capturing the intricate details of a guitar’s sound. They are often used in studio environments to achieve a more nuanced recording. Key characteristics include:
• High Sensitivity: Capable of capturing subtle dynamics and transient details.
• Extended Frequency Response: Provides a balanced capture of both low and high frequencies.
Mic Placement Tips for a Condenser Mic
1. Close-Miking: Place the condenser mic about 3–6 inches from the speaker for a balanced and detailed sound.
2. Room Miking: Pull the mic back several feet to capture the room’s natural reverb and space. This can add depth and dimension to your tone.
Ribbon Microphones: Warmth and Vintage Character

Ribbon microphones are known for their natural, smooth sound reproduction, often imparting a vintage character to recordings. They are particularly effective in taming harsh high frequencies and adding warmth. Notable features include:
• Figure-8 Polar Pattern: Captures sound from both the front and rear, allowing for a more open and natural room ambiance.
• Delicate Construction: While modern ribbon mics are more robust, they still require careful handling and are sensitive to high SPLs.
Mic Placement Tips for Ribbon Mics
1. Close Miking: Positioning the mic about 6 to 12 inches from the speaker can capture a warm, full-bodied tone.
2. Room Miking: Placing the mic further away incorporates more of the room’s acoustics, adding depth and natural reverb to the sound.
Combining Microphones: Expanding Tonal Possibilities
Utilizing multiple microphones allows for a blend of characteristics, creating a more complex and rich guitar tone. For instance:
• Dynamic and Condenser Combo: A dynamic mic captures the direct, punchy sound, while a condenser mic picks up the detailed nuances and room ambiance.
• Dynamic and Ribbon Pairing: The dynamic mic provides clarity and attack, whereas the ribbon mic adds warmth and smoothness, balancing the overall tone.
When combining microphones, it’s essential to be mindful of phase relationships. Misaligned phases can lead to frequency cancellations, resulting in a thin or hollow sound. Ensure proper phase alignment either by adjusting mic placement or using phase correction tools during mixing.
Understanding the impact of different microphones and their placements can significantly enhance your use of impulse responses. Many IRs are created using specific mic types and positions, and selecting an IR that matches your desired microphone characteristics can help in achieving a more authentic and tailored tone.
Understanding how microphones and their placements affect tone is key to crafting your ideal guitar sound. Whether you’re experimenting with dynamic, condenser, or ribbon mics—or diving into the world of impulse responses—your ability to shape tone begins with the knowledge of these essential tools.
If you enjoyed learning about microphones and how they impact your IRs and tone, it’s time to take the next step. Join the Tone Master Pro Course, where we unveil the science of great tone, teach you how to master digital amps, and empower you to craft your signature sound.
Click here to learn more and start your tone mastery journey today!
Unlock the tone you’ve been chasing with The Essential Guitar Tone Mastery Guide! This free resource is packed with actionable tips to help you master EQ, gain staging, effects, and more—no matter your gear or style. Download the guide today and start building tones that inspire your playing.
